Game Boy Light Color (LoCo) by NatalieTheNerd
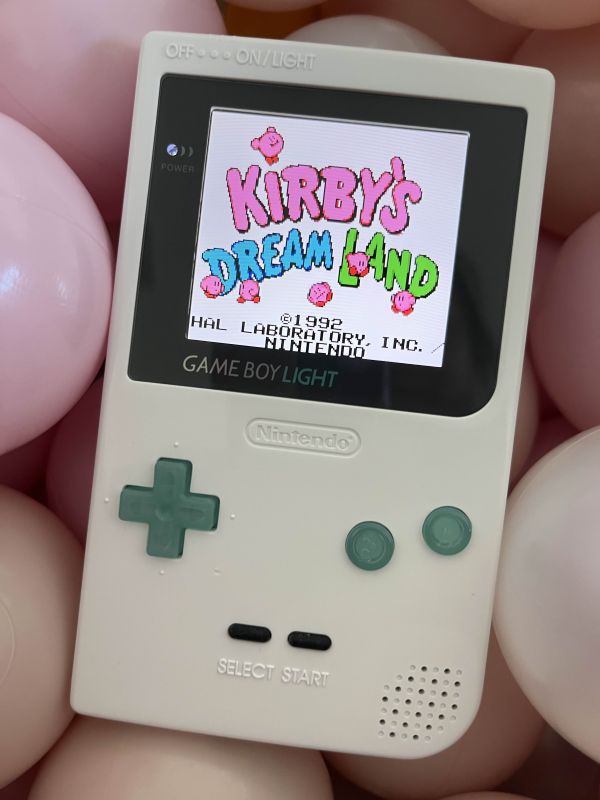
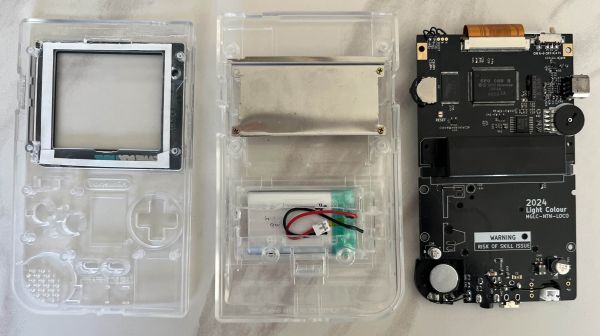
My first PoCo was actually a LoCo. My first dive into the world of pocket colors or modern gameboy colors was NatalieTheNerd’s pre-built Gameboy Light Color board. I ordered this from her website and also one clear GBL shell housing from AliExpress. I wanted my first entry into modding to be encouraged by a perfectly built device! I was eager and excited to be playing my favorite romhacks on this board built by one of the modding experts. Fitment, shell modification, and aesthetics, are important when putting these devices together, especially for transparent shells. Little did I know I was in for a world of fitment issues that led to this thing being put together much much later than expected.
First of all (as of Winter/Spring 2025), there are very limited, basically NO options for the Game Boy Light shells. There are literally only two colors, clear and white, and whoever manufactures them and packages them together with the screws and metal plate provided have probably never assembled a Game Boy Light motherboard into one for quality control. There are many issues with trying to get a Game Boy Light to fit into these aftermarket shells. And yes, I tried with an original Nintendo stock GBL as well, not just the LoCo. I only ordered one for my first attempt thinking it would be easy, and I failed spectacularly.
For my first clear shell, I ended up with a broken screw post from the back metal plate from excessive pressure from a poor fitting provided screw and a non-moving volume wheel due to the metal plate position/screw post. It ended up becoming my test shell for trimming and filing away enough space to fit Q5 screens and USB-C mods.
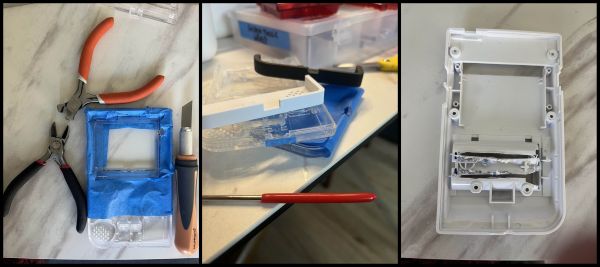
I learned quickly that making cuts in transparent shells leave very noticeable marks and laying down excessive masking tape is never a bad thing. I’ll end this with saying that I settled with an opaque white shell for my first LoCo.

Fitment notes for GBLs
-
Q5 trimming— Very unfun thing to do. Bunch of YouTube videos for this. HandHeldLegend has a good one. Tape everything, just do it.
-
Volume wheel movement— Saw (or grind) down perpendicular metal edge of aftermarket cartridge shield if making a LoCo without a donor cartridge shield, maybe the top of the plastic screw post too. File down the sides of the shell for volume wheel opening as needed to allow the wheel to turn.
-
USB-C Mods— depth for this front shell went the full distance of the DC jack, removed the small nub/lip on the back shell and minimal filing for the length of the port. Stop to measure fit lots of times!
-
Power switch— file down both horizontal surfaces of the plastic moveable switch since the front/back shell enclosures have a very narrow space. Avoid filing too much as you want to have the tactile pressure of shifting the power switch on rather than a smooth slide. This is a common issue with other aftermarket shells too.
The Build Materials
- Game Boy Light aftermarket shell
-
GBP Buttons “IPS Ready”, GBP Buttons Gamenaissance
- 103048 3.7v LiPo Battery
Heads up: this post contains affiliate links. If you click through and buy something I may earn a small commission at no extra cost to you. See the About page for the full disclosure.